In order to take advantage of your Signitic signatures on Sellsy, Signitic has an integration that only takes a few clicks to install !
To make the connection between the two services, go to the connectors page of your Signitic settings.
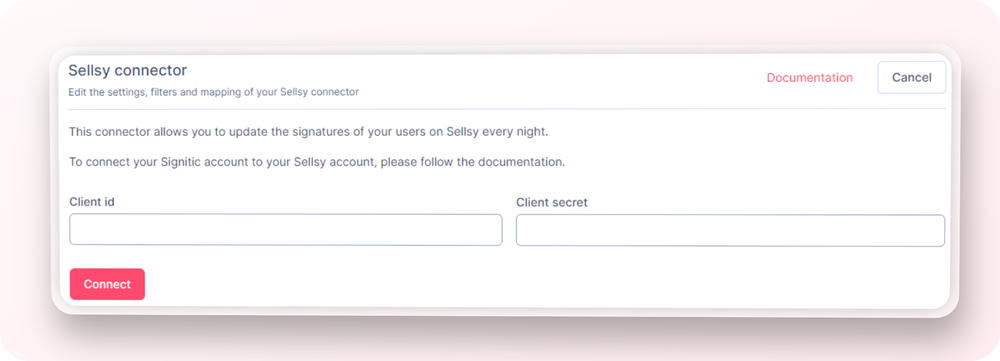
Once on the page, click on the Sellsy connector.
Signitic will ask you for 2 information in order to make the connection. To obtain the Client Id and the Secret Client, go to your Sellsy account, in the developer area:
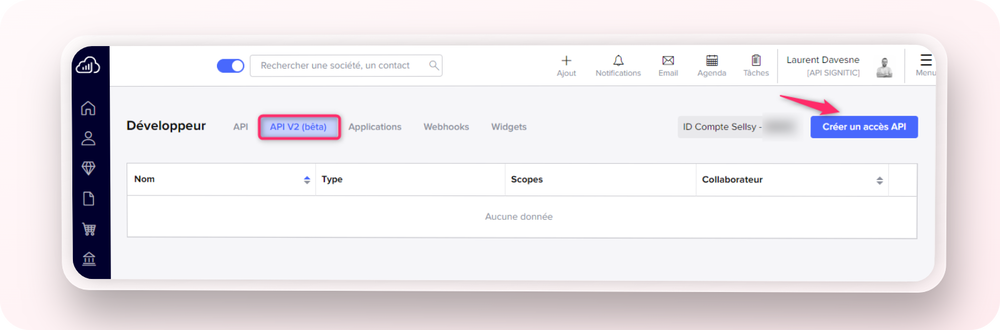
Then, you'll need to create a new API access.
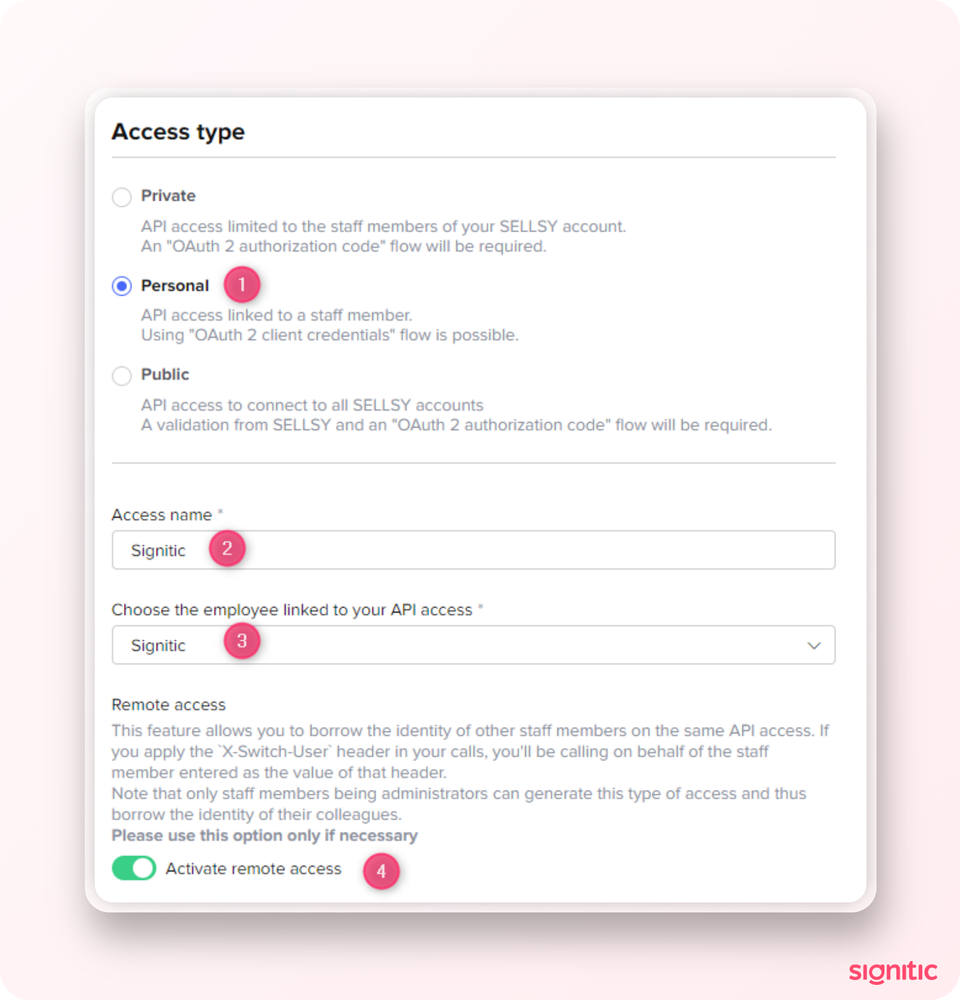
In the access creation, you need to choose Personal for the type of access (1), then fill in an Access name (2), a linked employee (3) and then activate the remote access (4).
Tip: If the remote access checkbox is greyed out, try with another admin collaborator.
To finish, you can check at least the following permissions before saving :
emails.settings
staff.read
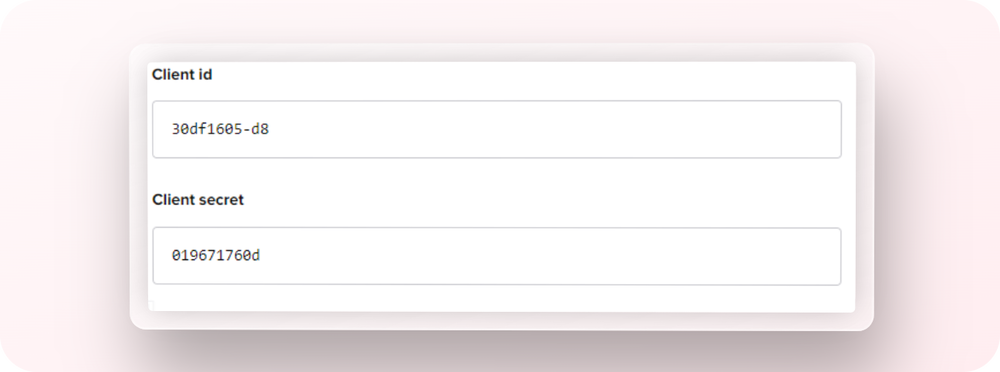
Once registered, you will have access to your Client Id and Client Secret.
⚠️ Make sure you copy this information now. You won't be able to see it again!
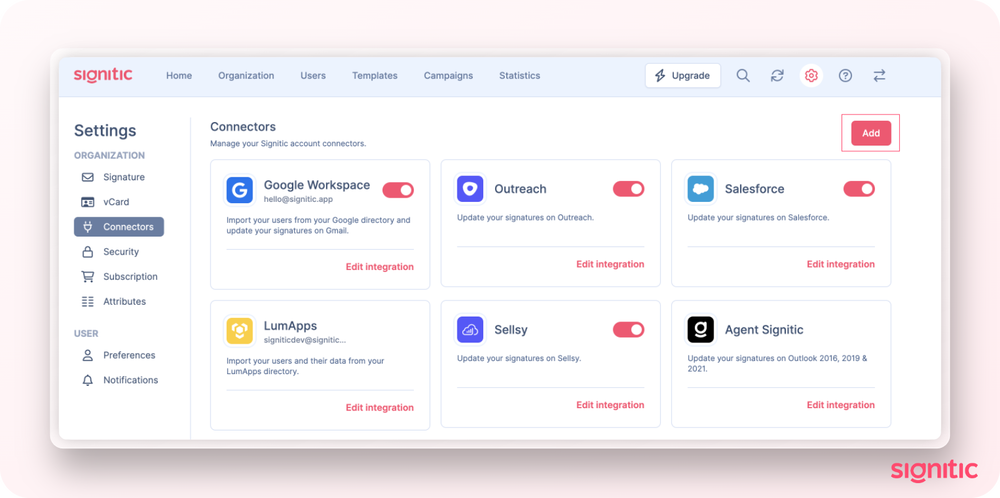
Back on the Signitic page, in the connector settings: click on add at the top right.
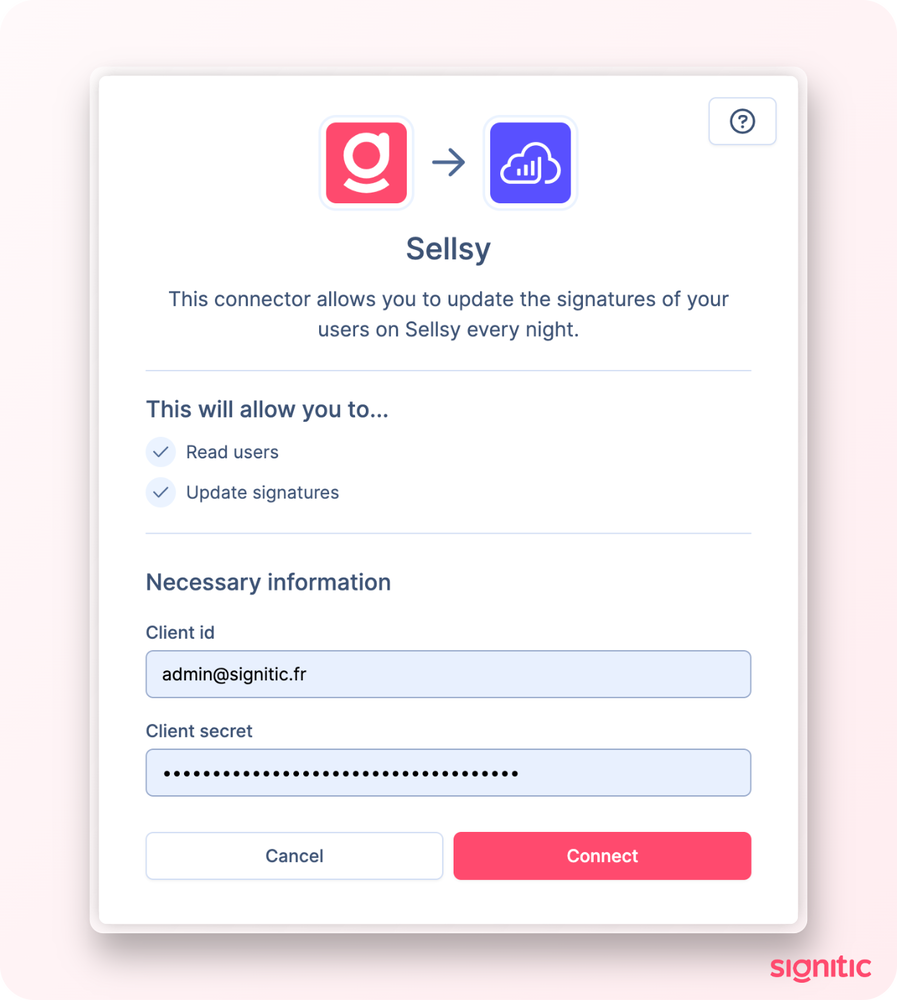
Select Sellsy, then add your Client Id and Client Secret.
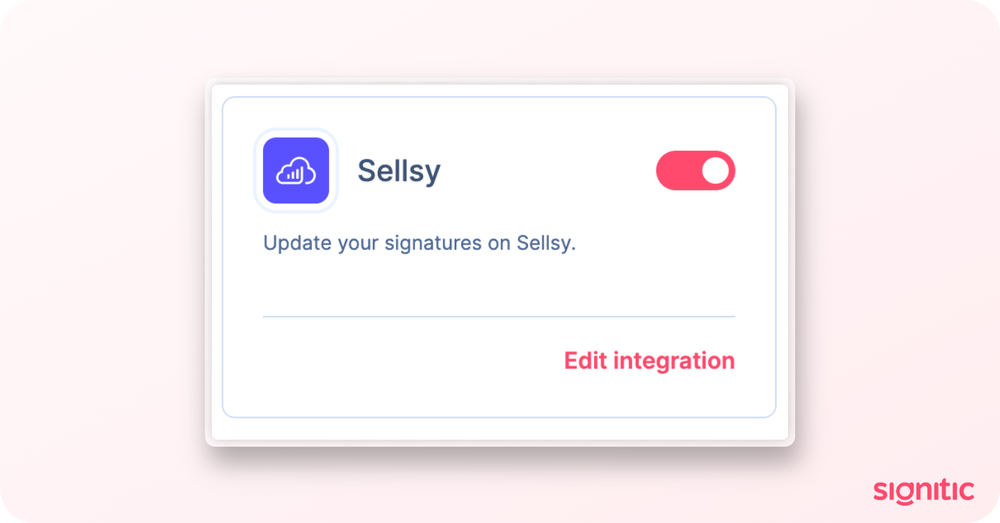
Sellsy is now connected to Signitic!
Once logged in, go to your connectors settings and you can check the status of the user on Sellsy by hovering over the user's active/inactive status.
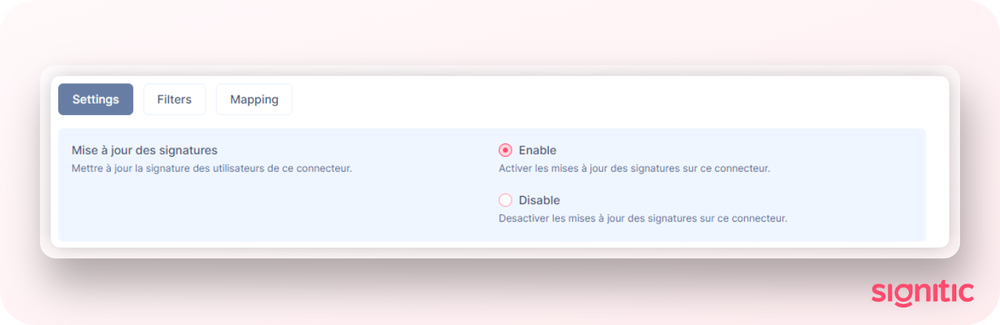
You can also force the update of your signatures by going to Edit Integration and then Activate, or wait 24 hours to see them updated!
