In order to benefit from your Signitic signatures on Outreach, Signitic has an integration that only takes a few clicks to install.
To connect Outreach and Signitic, go to the Connectors tab from your settings.
Choose Microsoft 365 and then Connect, to be redirected to the page for accepting the various authorisations.
The requested authorisations are used to retrieve the list of your users and their attributes.
Once the various authorisations have been given, you will be redirected to your new connector.
In concrete terms, this means that Signitic will apply your user additions, modifications or deletions on the platform on a daily basis.
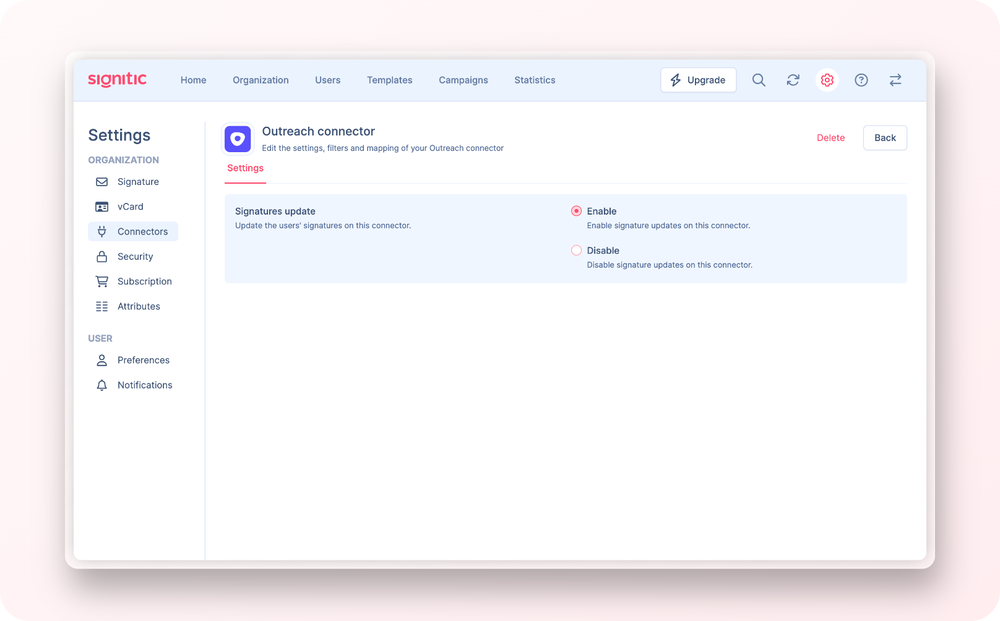
As with all Destination connectors, it is important to enable signature update on the connector afterwards if you want to update the signatures right away.
To do this, click on Outreach in your Connectors settings.
Then click on Activate.
Once everything is autorized, you should see the Outreach status for each of your user on hover of the status label in the table.
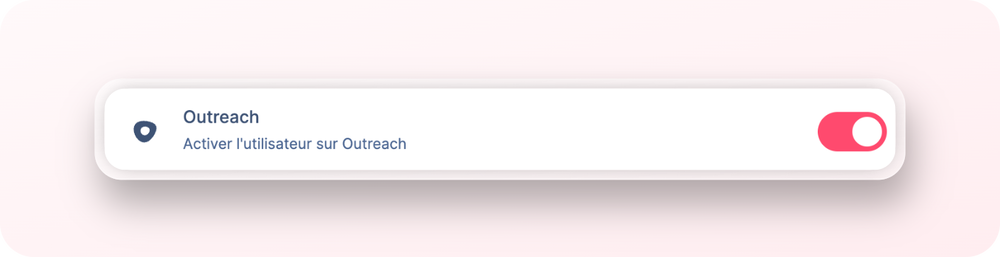
You can enable Outreach by user by going to the settings of one user profile.
You can force update your signatures from the Synchronization module or wait until tomorrow morning to see them updated!
