To benefit from your Signitic signatures on Zoho Mail, Signitic has an integration that only takes a few clicks to install!
Go to the settings of your Signitic account, then the Connectors tab of your account, and click on “Add”.
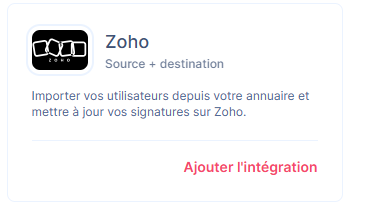
Scroll down the page, then add the Zoho integration.
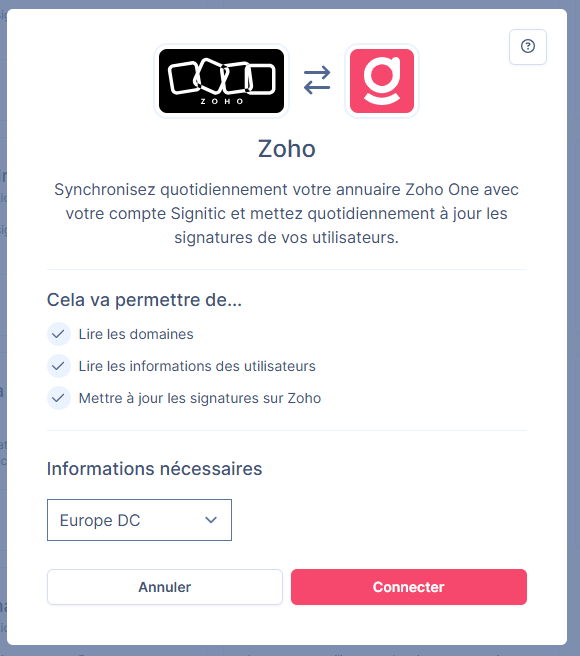
Once done, you will need to select the server on which your Zoho Mail is connected.

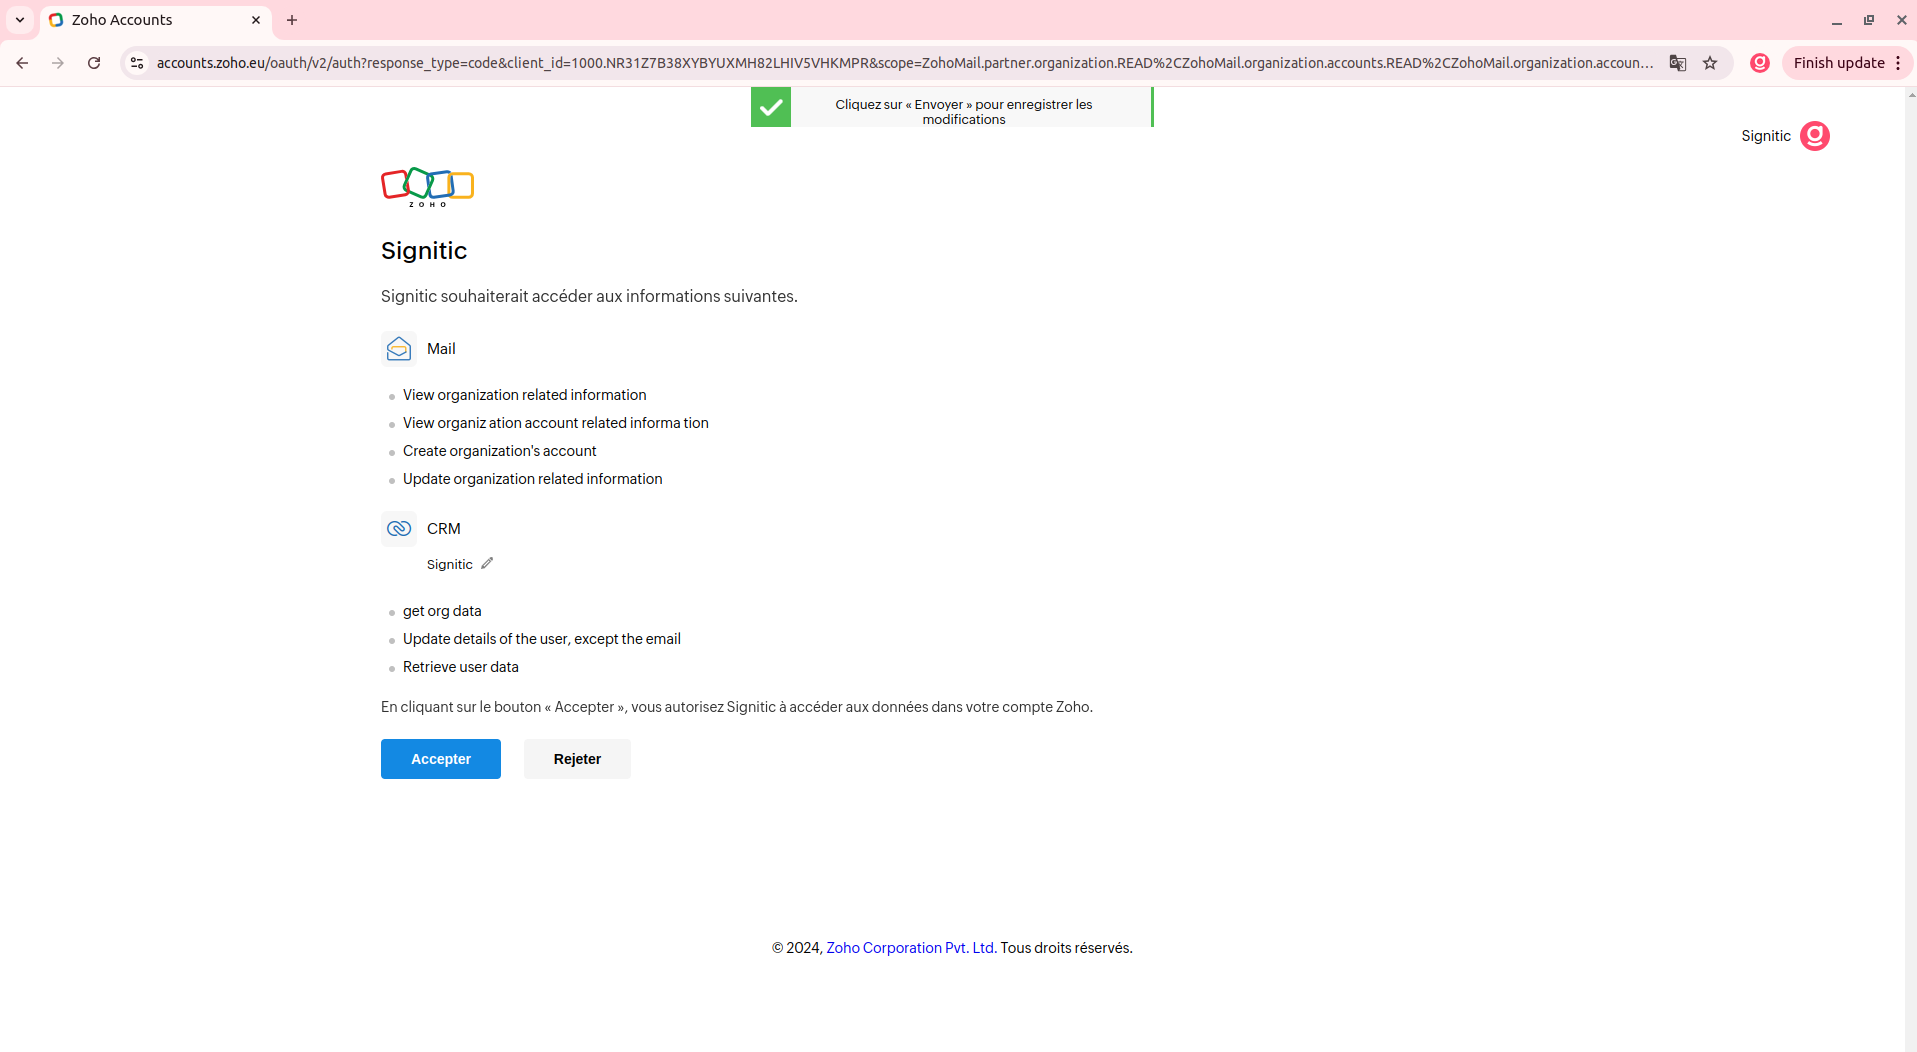
You will be redirected to your Zoho account. You must then choose which “CRM” you want to connect Signitic to.
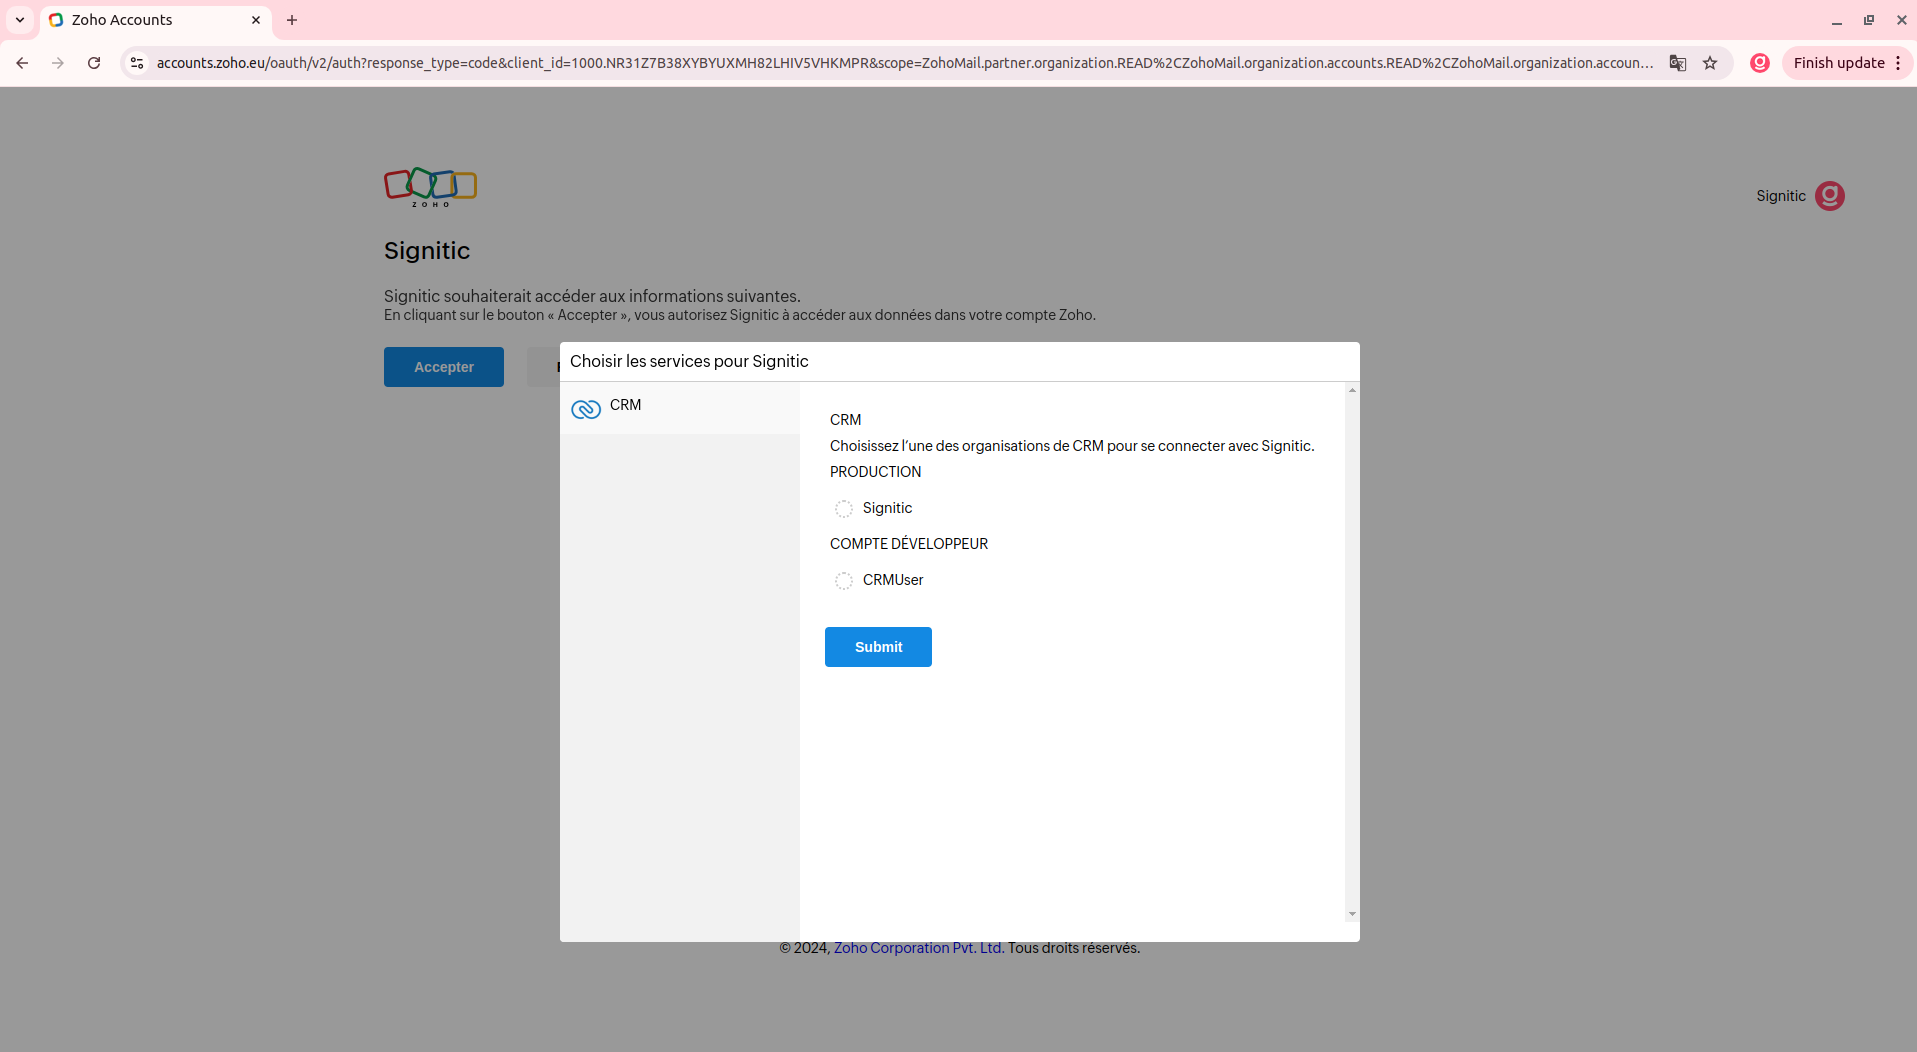
Once the choice is made, you will be able to modify your choices again and/or accept the connection to Zoho.
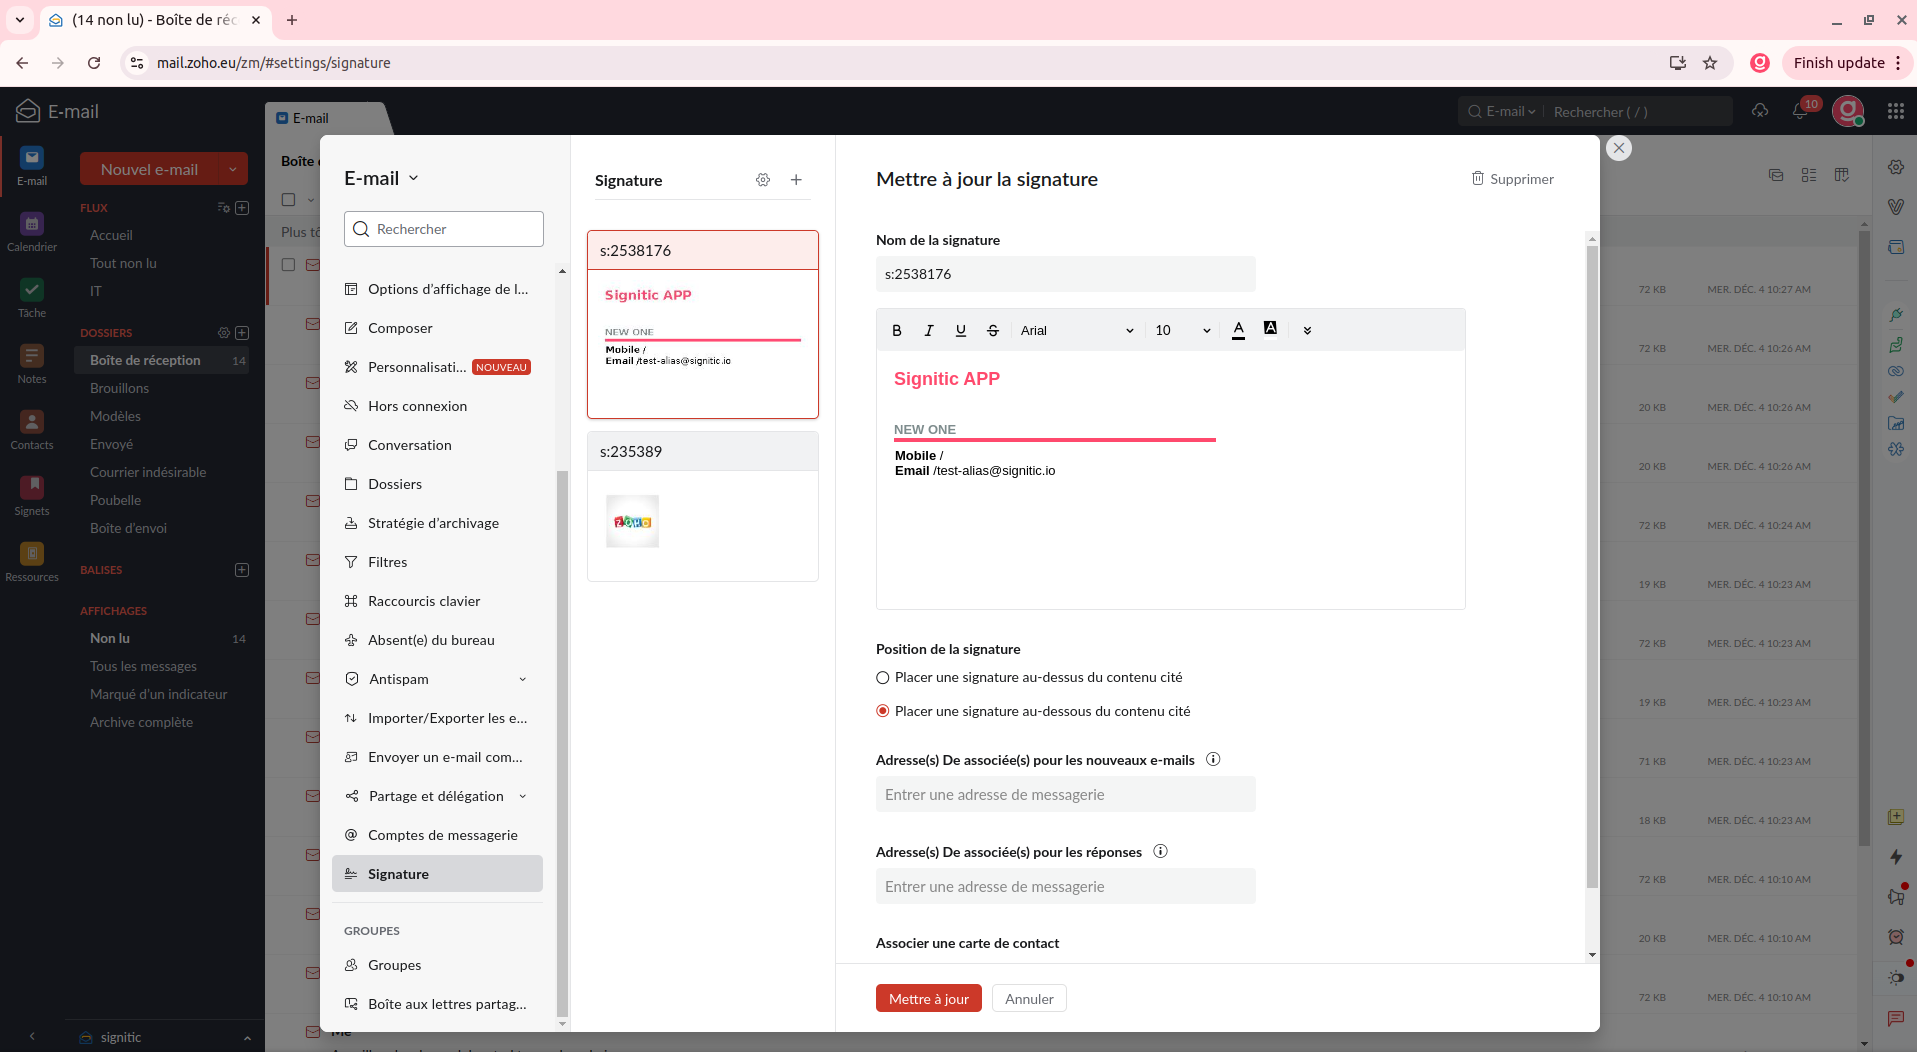
Once the connection with the Zoho connector is made, you will be able to manage your signature from the settings of your Zoho application.
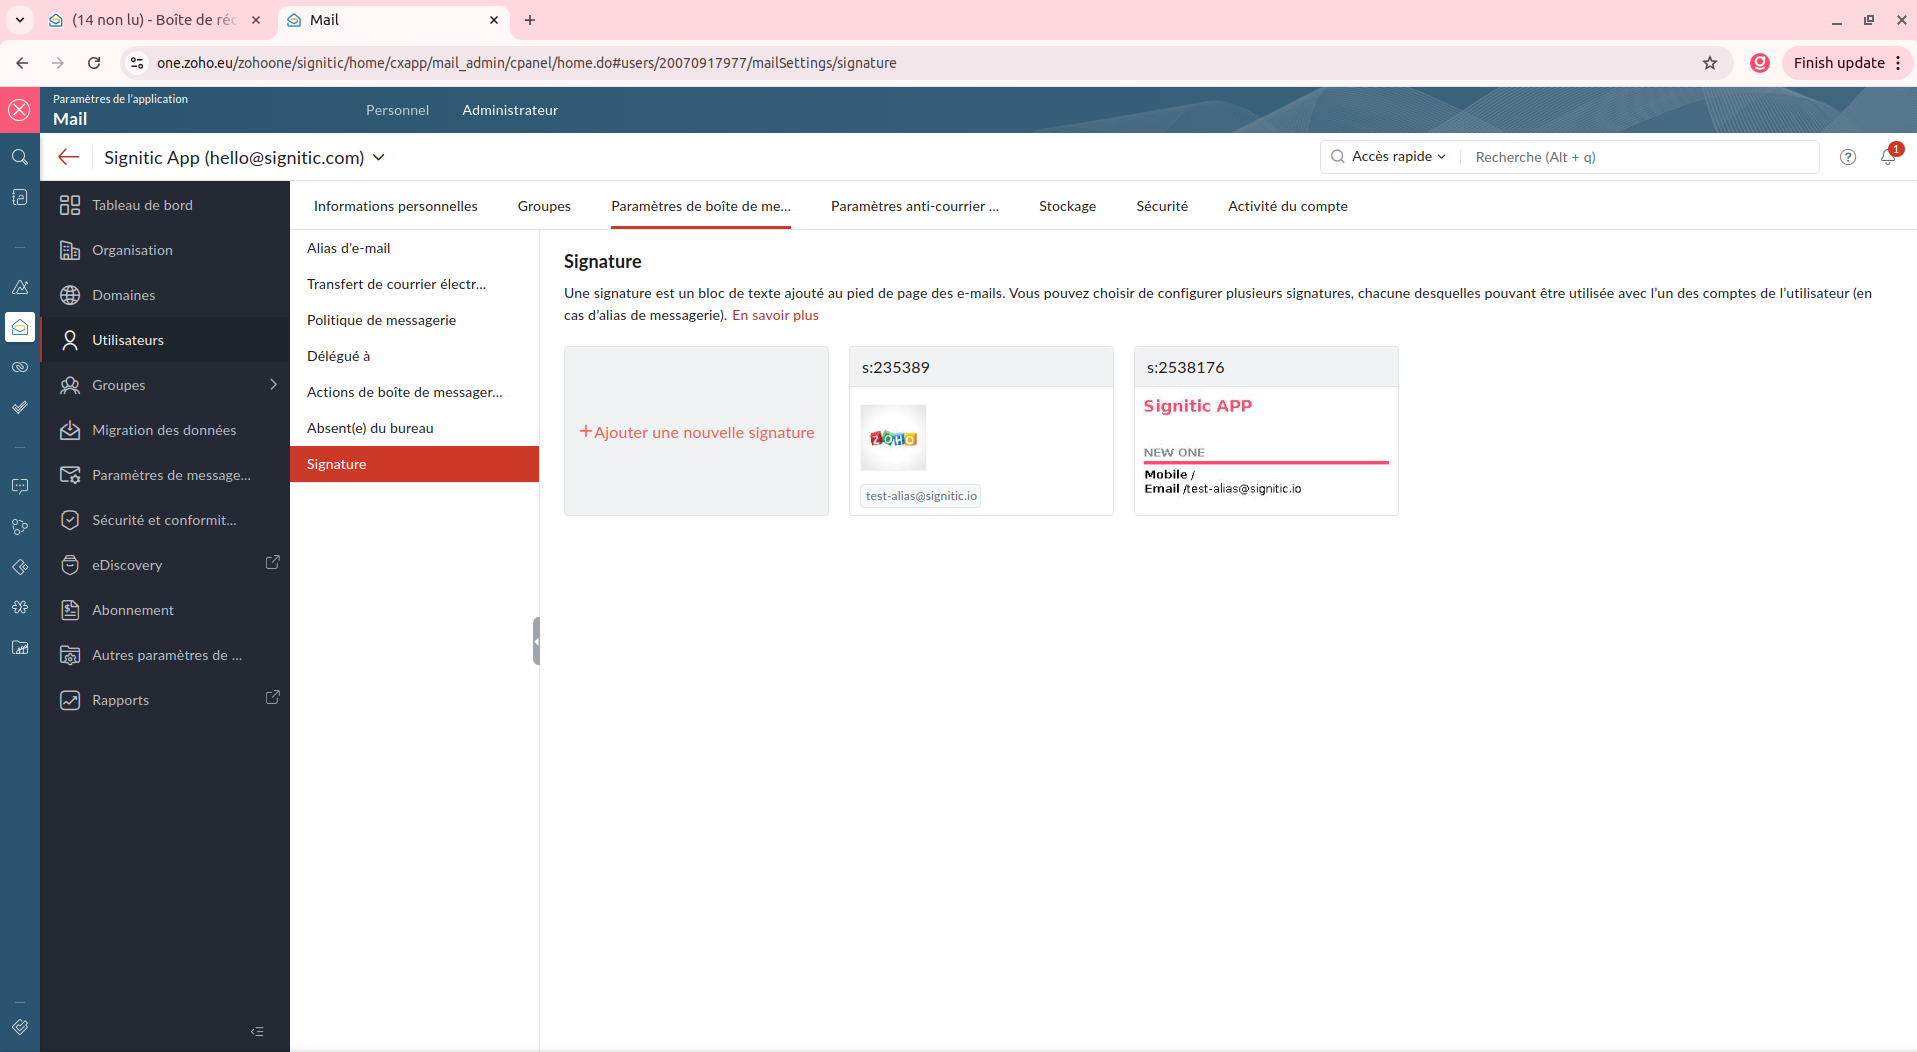
Go to the “Users” settings and then “Signatures.” From here, you can give specific names to your signature to make it easier to differentiate.
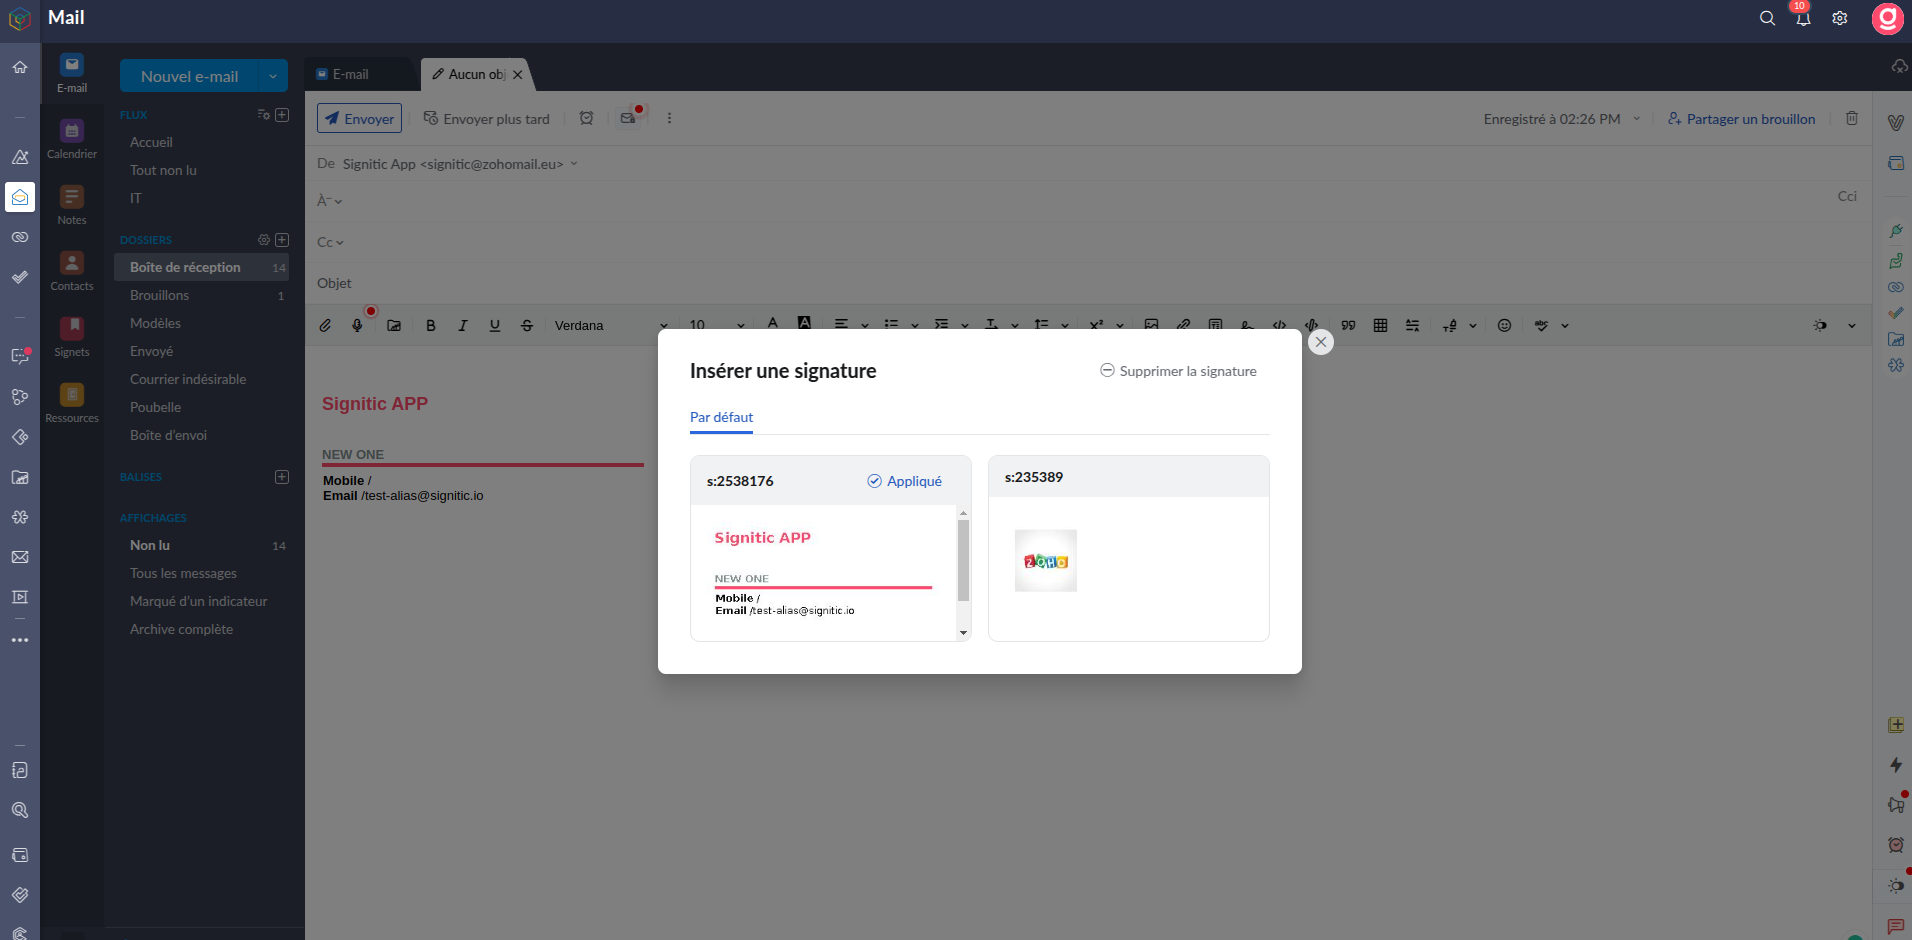
Once the connection between Signitic and Zoho Mail is established, it may be necessary to choose the default signature. To do this, go to compose a new email, then click on Insert a signature.
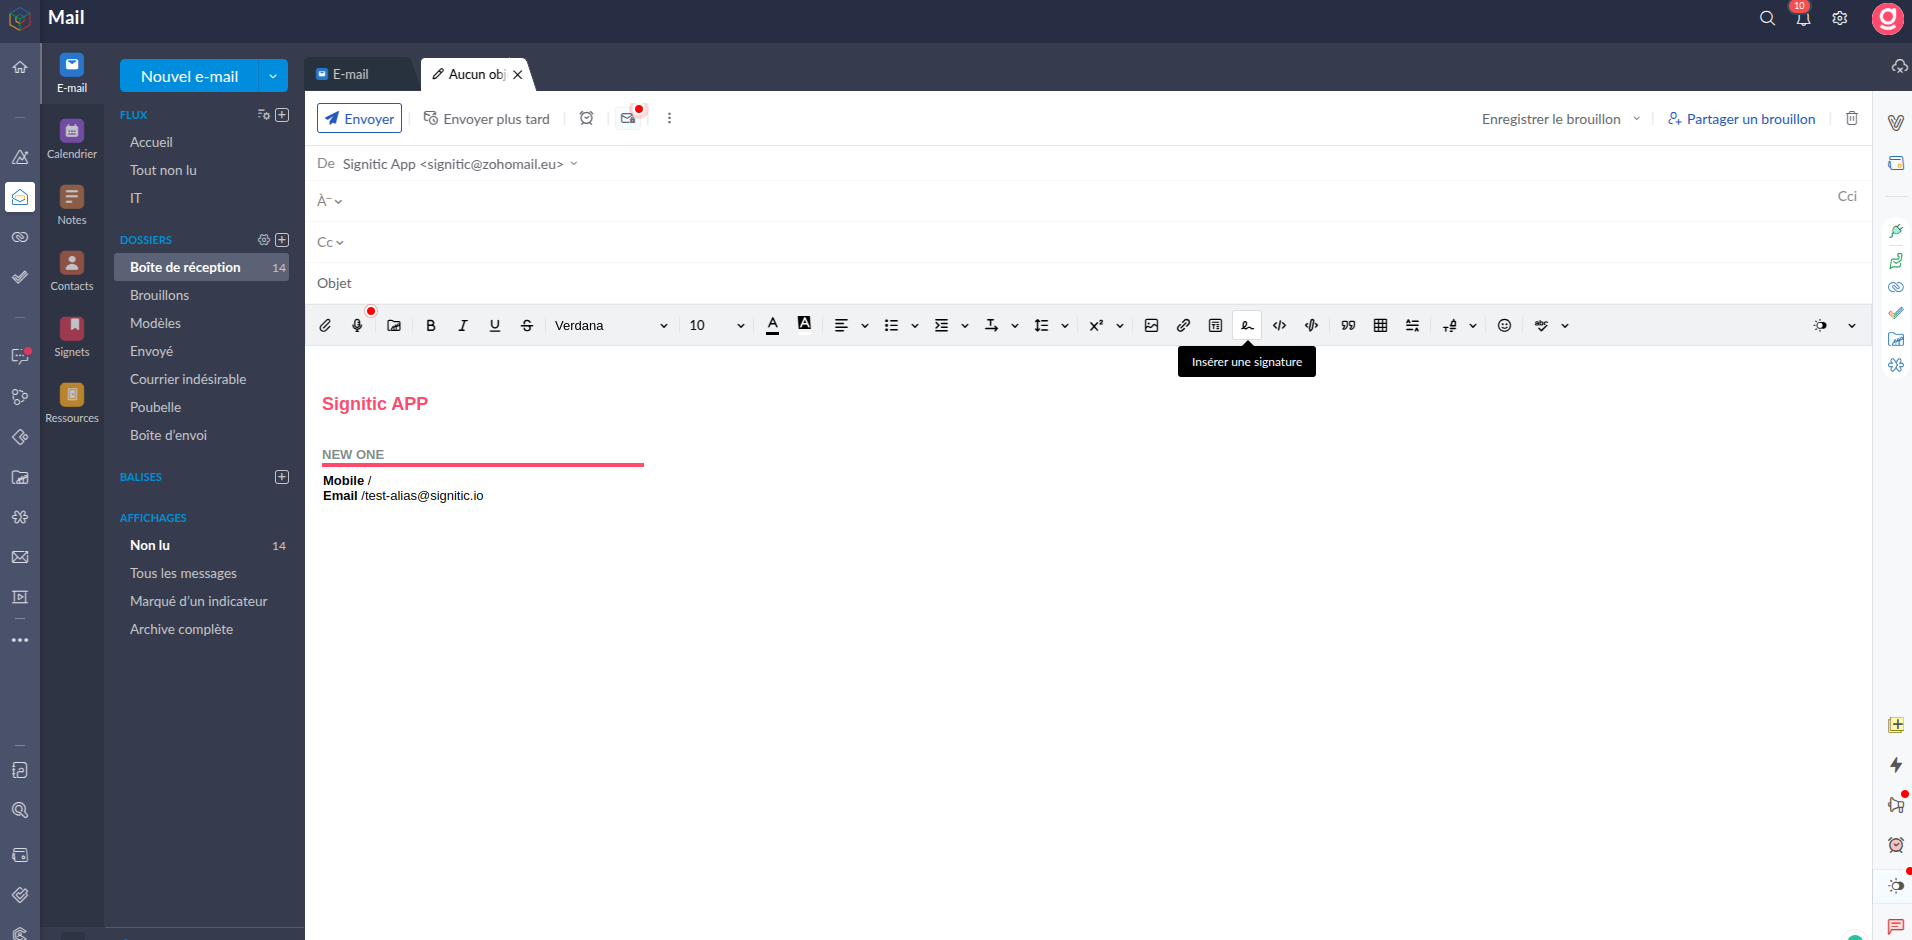
Then select the Signitic signature you want.